Lined Canvas Tote Bag


This weekend I tried my hand at making a lined tote bag and I’m pretty pleased with how it turned out. I’ve been wanting a new bag to replace the Falletti’s canvas shopping bag I’ve been using to tote my laptop around.

Lovely laptop tote?

Notice how it won’t stand up on its own!
So I decided to give this tutorial from The Inspired Wren a try. First off, I wanted my bag to be a bit bigger than the dimensions in the tutorial (8½″ x 11½″ x 4″), so I adjusted them based on my trusty grocery bag. I actually loved the size of the Falletti’s bag, including the strap length. My finished dimensions were 11″ x 13½″ x 4″ with 1″ wide handles. I also decided to add a pocket to the inside of the bag because who doesn’t want more pockets?
Materials
- Outdoor canvas from my favorite local discount fabric store for the outer shell, about ½ yard.
- Quilting weight cotton print (from the same place) for the lining, about ½ yard.
- Duck-cloth canvas for the bottom panels and handles.
I had a bunch of the duck canvas lying around from another project that I never did (sigh). All duck-cloth is heavy weight canvas, but I think even within that there are different weights – this stuff was really heavy resulting in a few…challenges… - Heavy-duty (denim) needle
- Heavy-duty thread for the canvas parts, normal thread for the lining.
Cutting List
- Outer shell and lining: 16 ½″ x 17 ½″; cut 2 (each)
- Pockets: 5 ¾″ x 6 ½″; cut 1 from outer shell material and 3 from lining material
- Bottom Panels: 16.5″ x 6 ¾″; cut 2
- Handles: 4″ x 52″; cut 2
The Process
One of the biggest challenges in this project was working with the super thick duck-cloth. It actually took surprisingly well to pressing, but I was a bit daunted when I started sewing through those 4 layers of canvas while making the straps. I began slowly and my little sewing machine chugged right along. The heavy-duty needle and thread were absolute necessities here. Because of the thickness of the handles I couldn’t pin them down to the outer shell – ended up using a big binder clip to hold it in place at one end (a couple more would have been nice, but I could only scrounge up one) and a bit of faith to sew them on straight. No sweat:)
And this brings me to my third duck-cloth-related challenge. If sewing through four layers of duck made me nervous, what do you think happened when I got to the part where you sew the outer shell pieces together (that’s step 8 in the tutorial)? Lets count them, 4 layers of duck from one strap, 4 layers from the other (that’s 8), 2 layers of duck from the bottom panels (that’s 10), plus 2 layers of outdoor canvas (and that’s 12). Twelve! So I took a deep breath, said what the hell, and powered through. I made it! And no broken needles either. In my opinion, a truly amazing feat. I eventually had to trim down the spots on the bottom seam where the handles meet to get those seams flat(ish).
Attaching the lining to the outer bag was my second challenge, and I had to improvise a bit. The tutorial called for a 1″ seam allowance here, leaving a scant ½″ between the spot where the handles attach and the top of the bag for two rows of topstitching. Let me just say that this didn’t work out for me (again, those handles are thick!), and leave it at that. I ended up topstitching right over the handles instead of above them. Really, this is barely even noticeable on the bag, since the topstitching blends in with the handles, so no big deal. But if you don’t want to stitch over your handles, you might consider leaving yourself a bit more space here – maybe just use a ½″ seam allowance instead of 1″.
One thing I didn’t do, but probably should have, is match up the pattern for the outside pocket and front and back panels. This should be easy enough to do for the pocket (I just didn’t think about it while I was cutting), but maybe a bit trickier for the front and back panels.
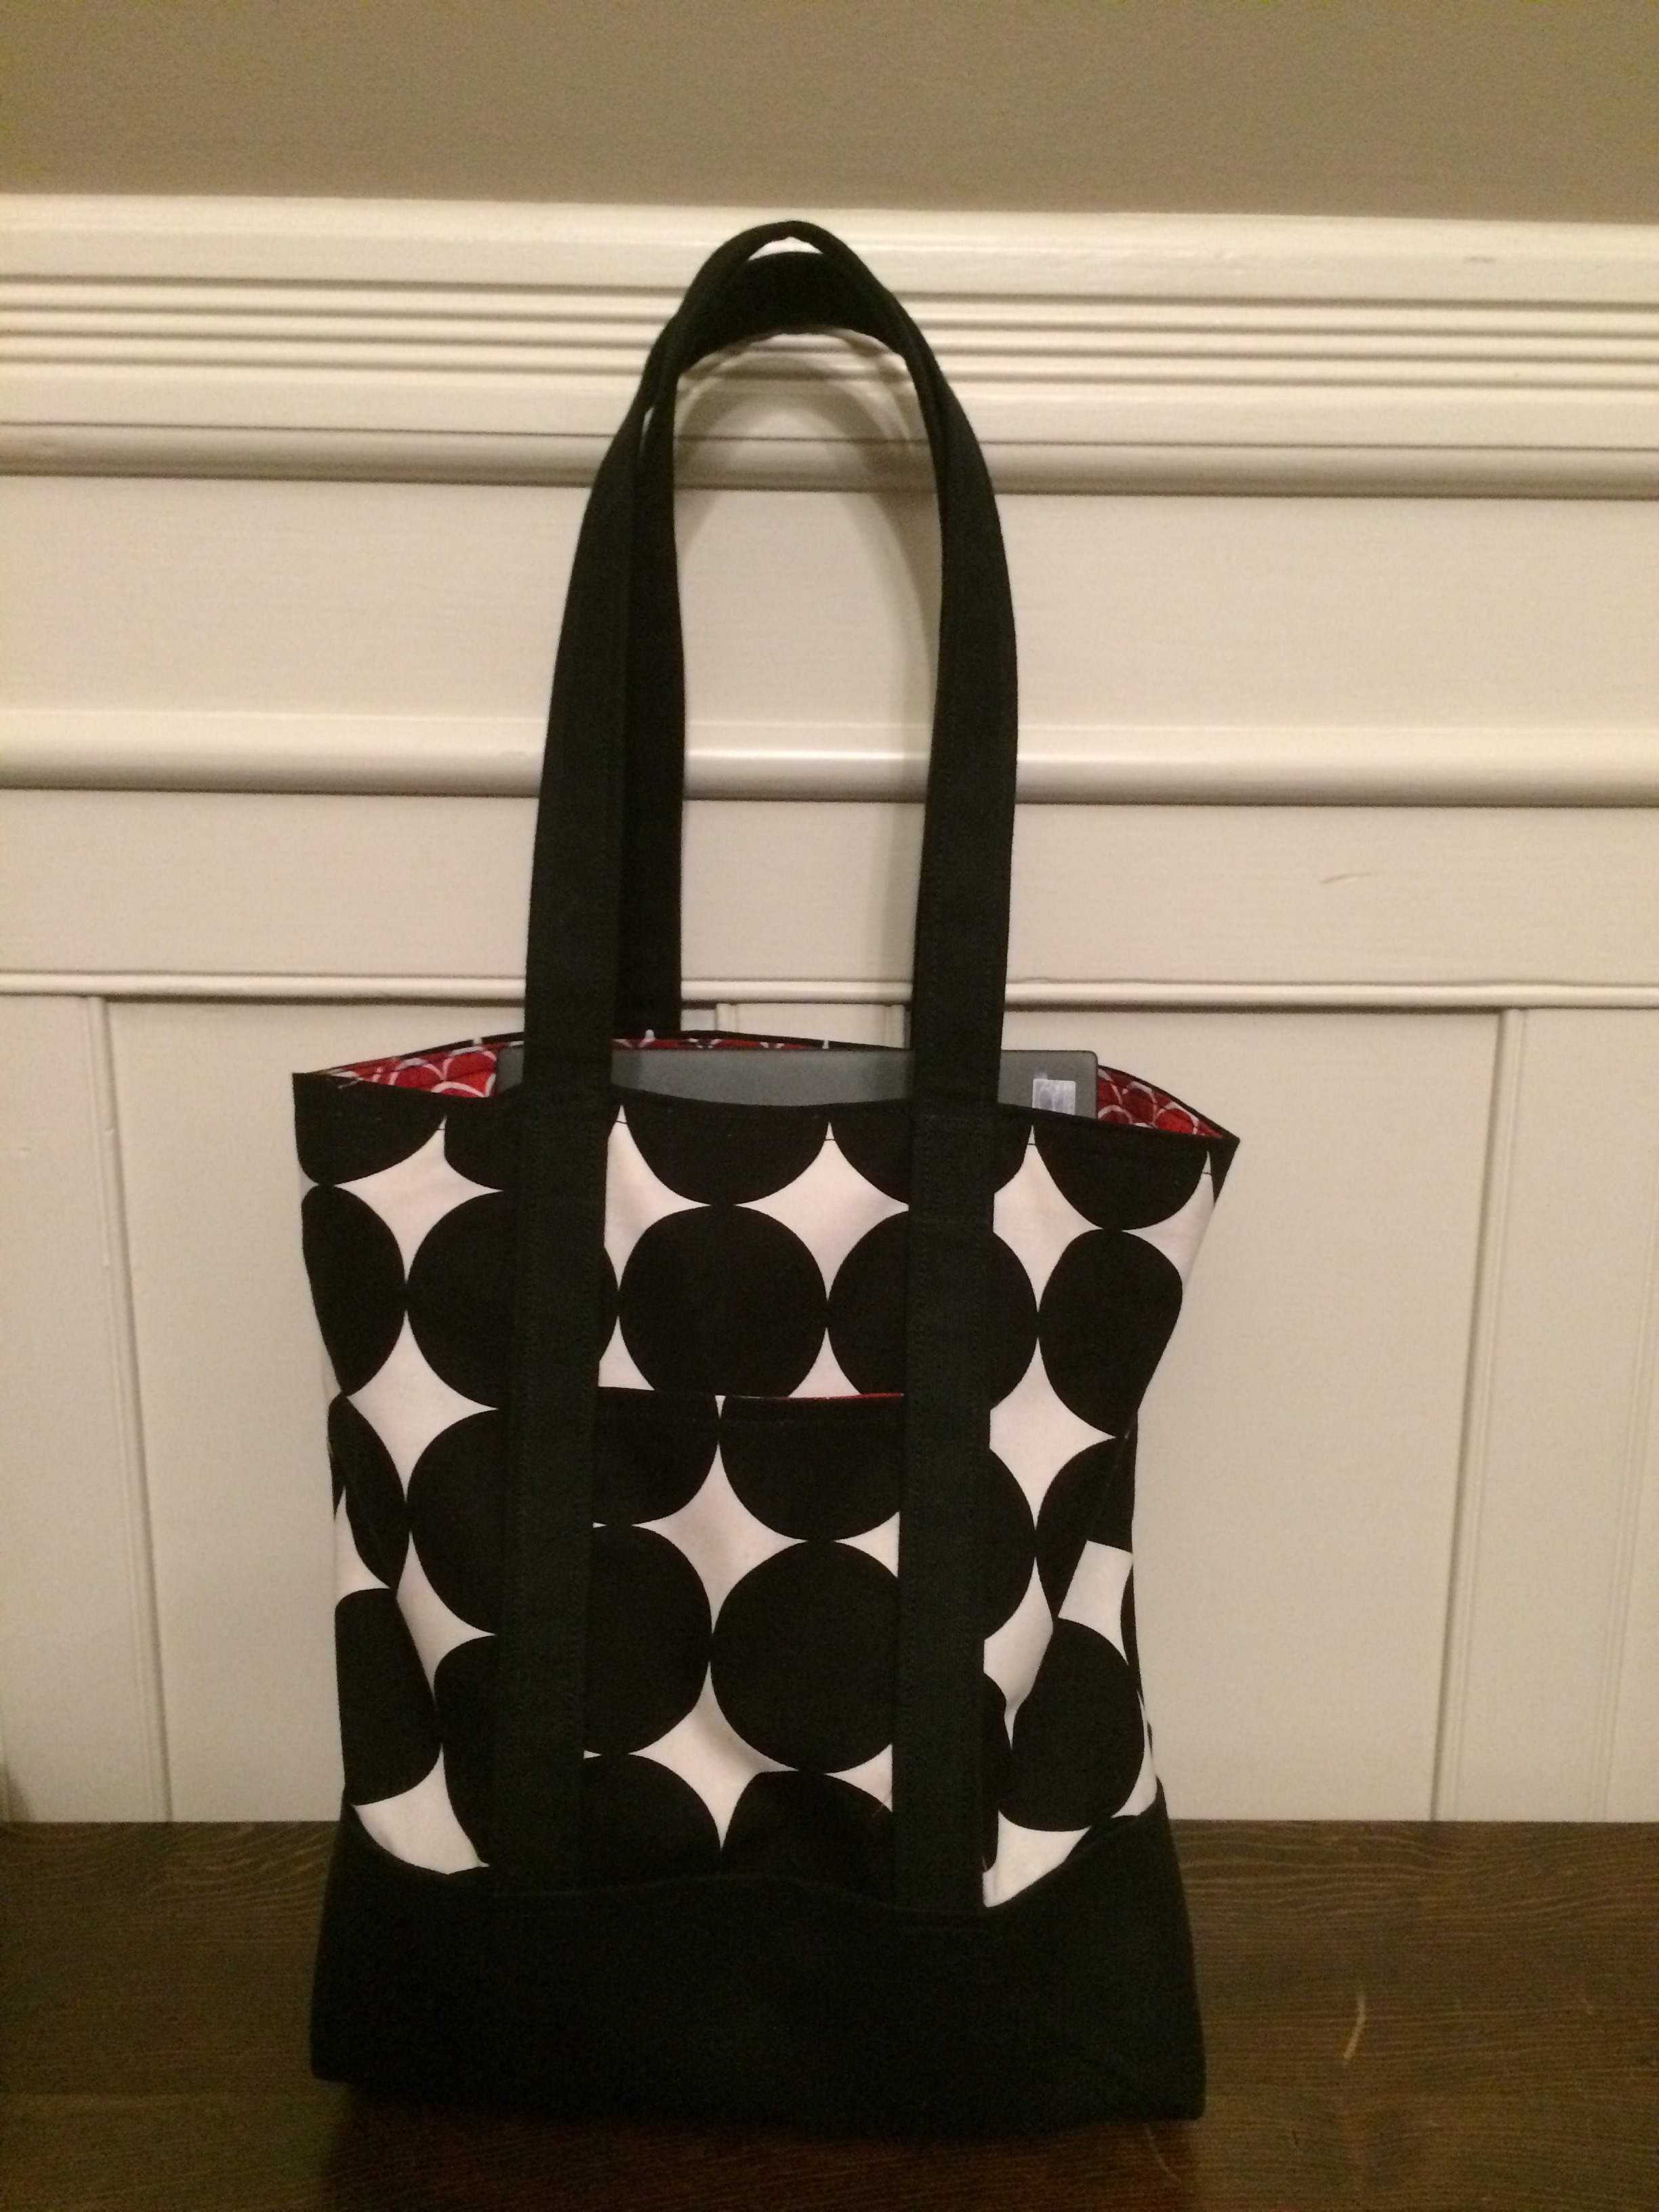
All said, I really like how it turned out – a much nicer tote bag for work than what I’ve been using. I like the graphic black and white print, and how well it pairs with the bright red lining. The inside pocket is also great – nice place to toss your keys or thumb drives, not to mention a good spot for my personalized tag:) And it was a pretty quick sew – took me about a day to complete.
Now, maybe a zippered pouch or coin purse to match?
